
How to equip room with acoustic panels
If you equip your music studio or listening room with high-quality speakers, it would not make sense to introduce them to a lousy listening environment. For this reason, it is necessary to care about the acoustics of the room and furnish it with suitable acoustic elements. Despite the need, we still often meet people who do not care about interior acoustics.
Why would someone who wants to arrange a studio or home listening room not care about acoustics? The answer is obvious: it is an invisible problem that someone simply does not understand and the solution costs money. However, if you are not ready to invest in acoustic panels, you will never achieve quality sound.
Acoustic coloration (distortion) haunts the entire room and influences the sound you want to hear. In this article, we will describe how to beat the coloration and how to achieve the best possible sound. The following strategy can be applied to listening rooms and music studios, but most of this advice can also be applied to home theaters, hi-fi rooms, etc.
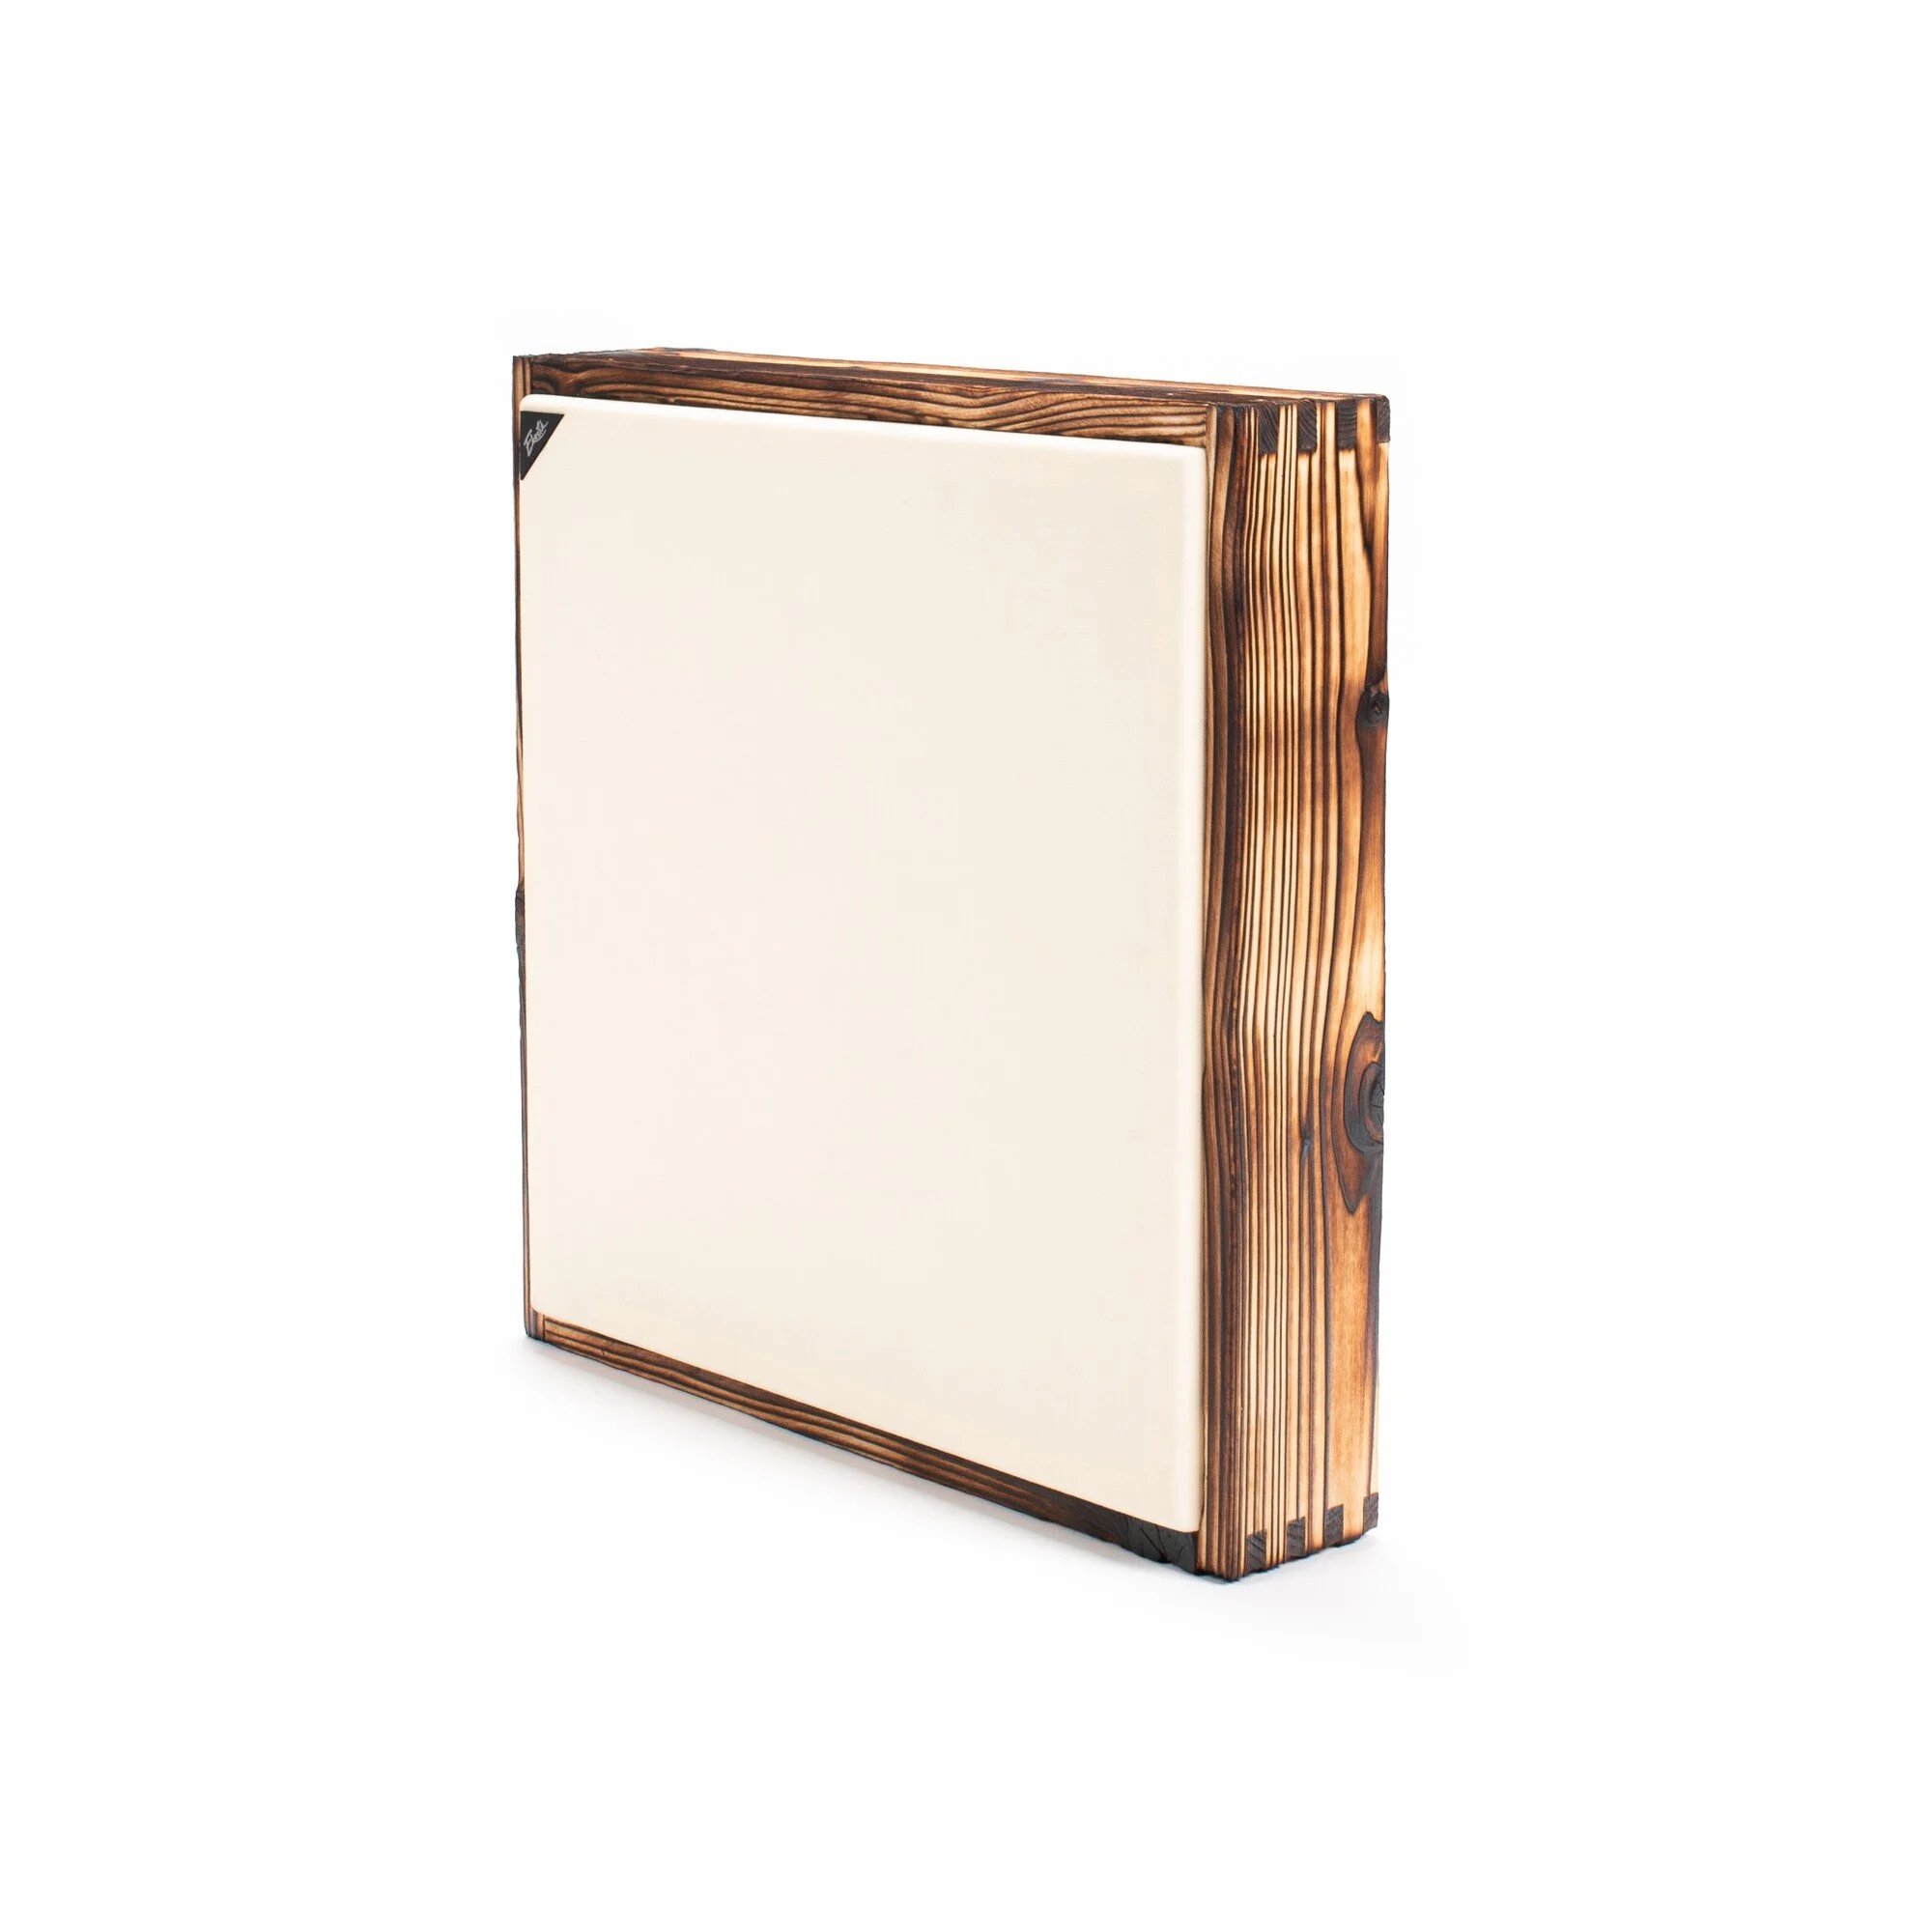
Ekustik acoustic treatment
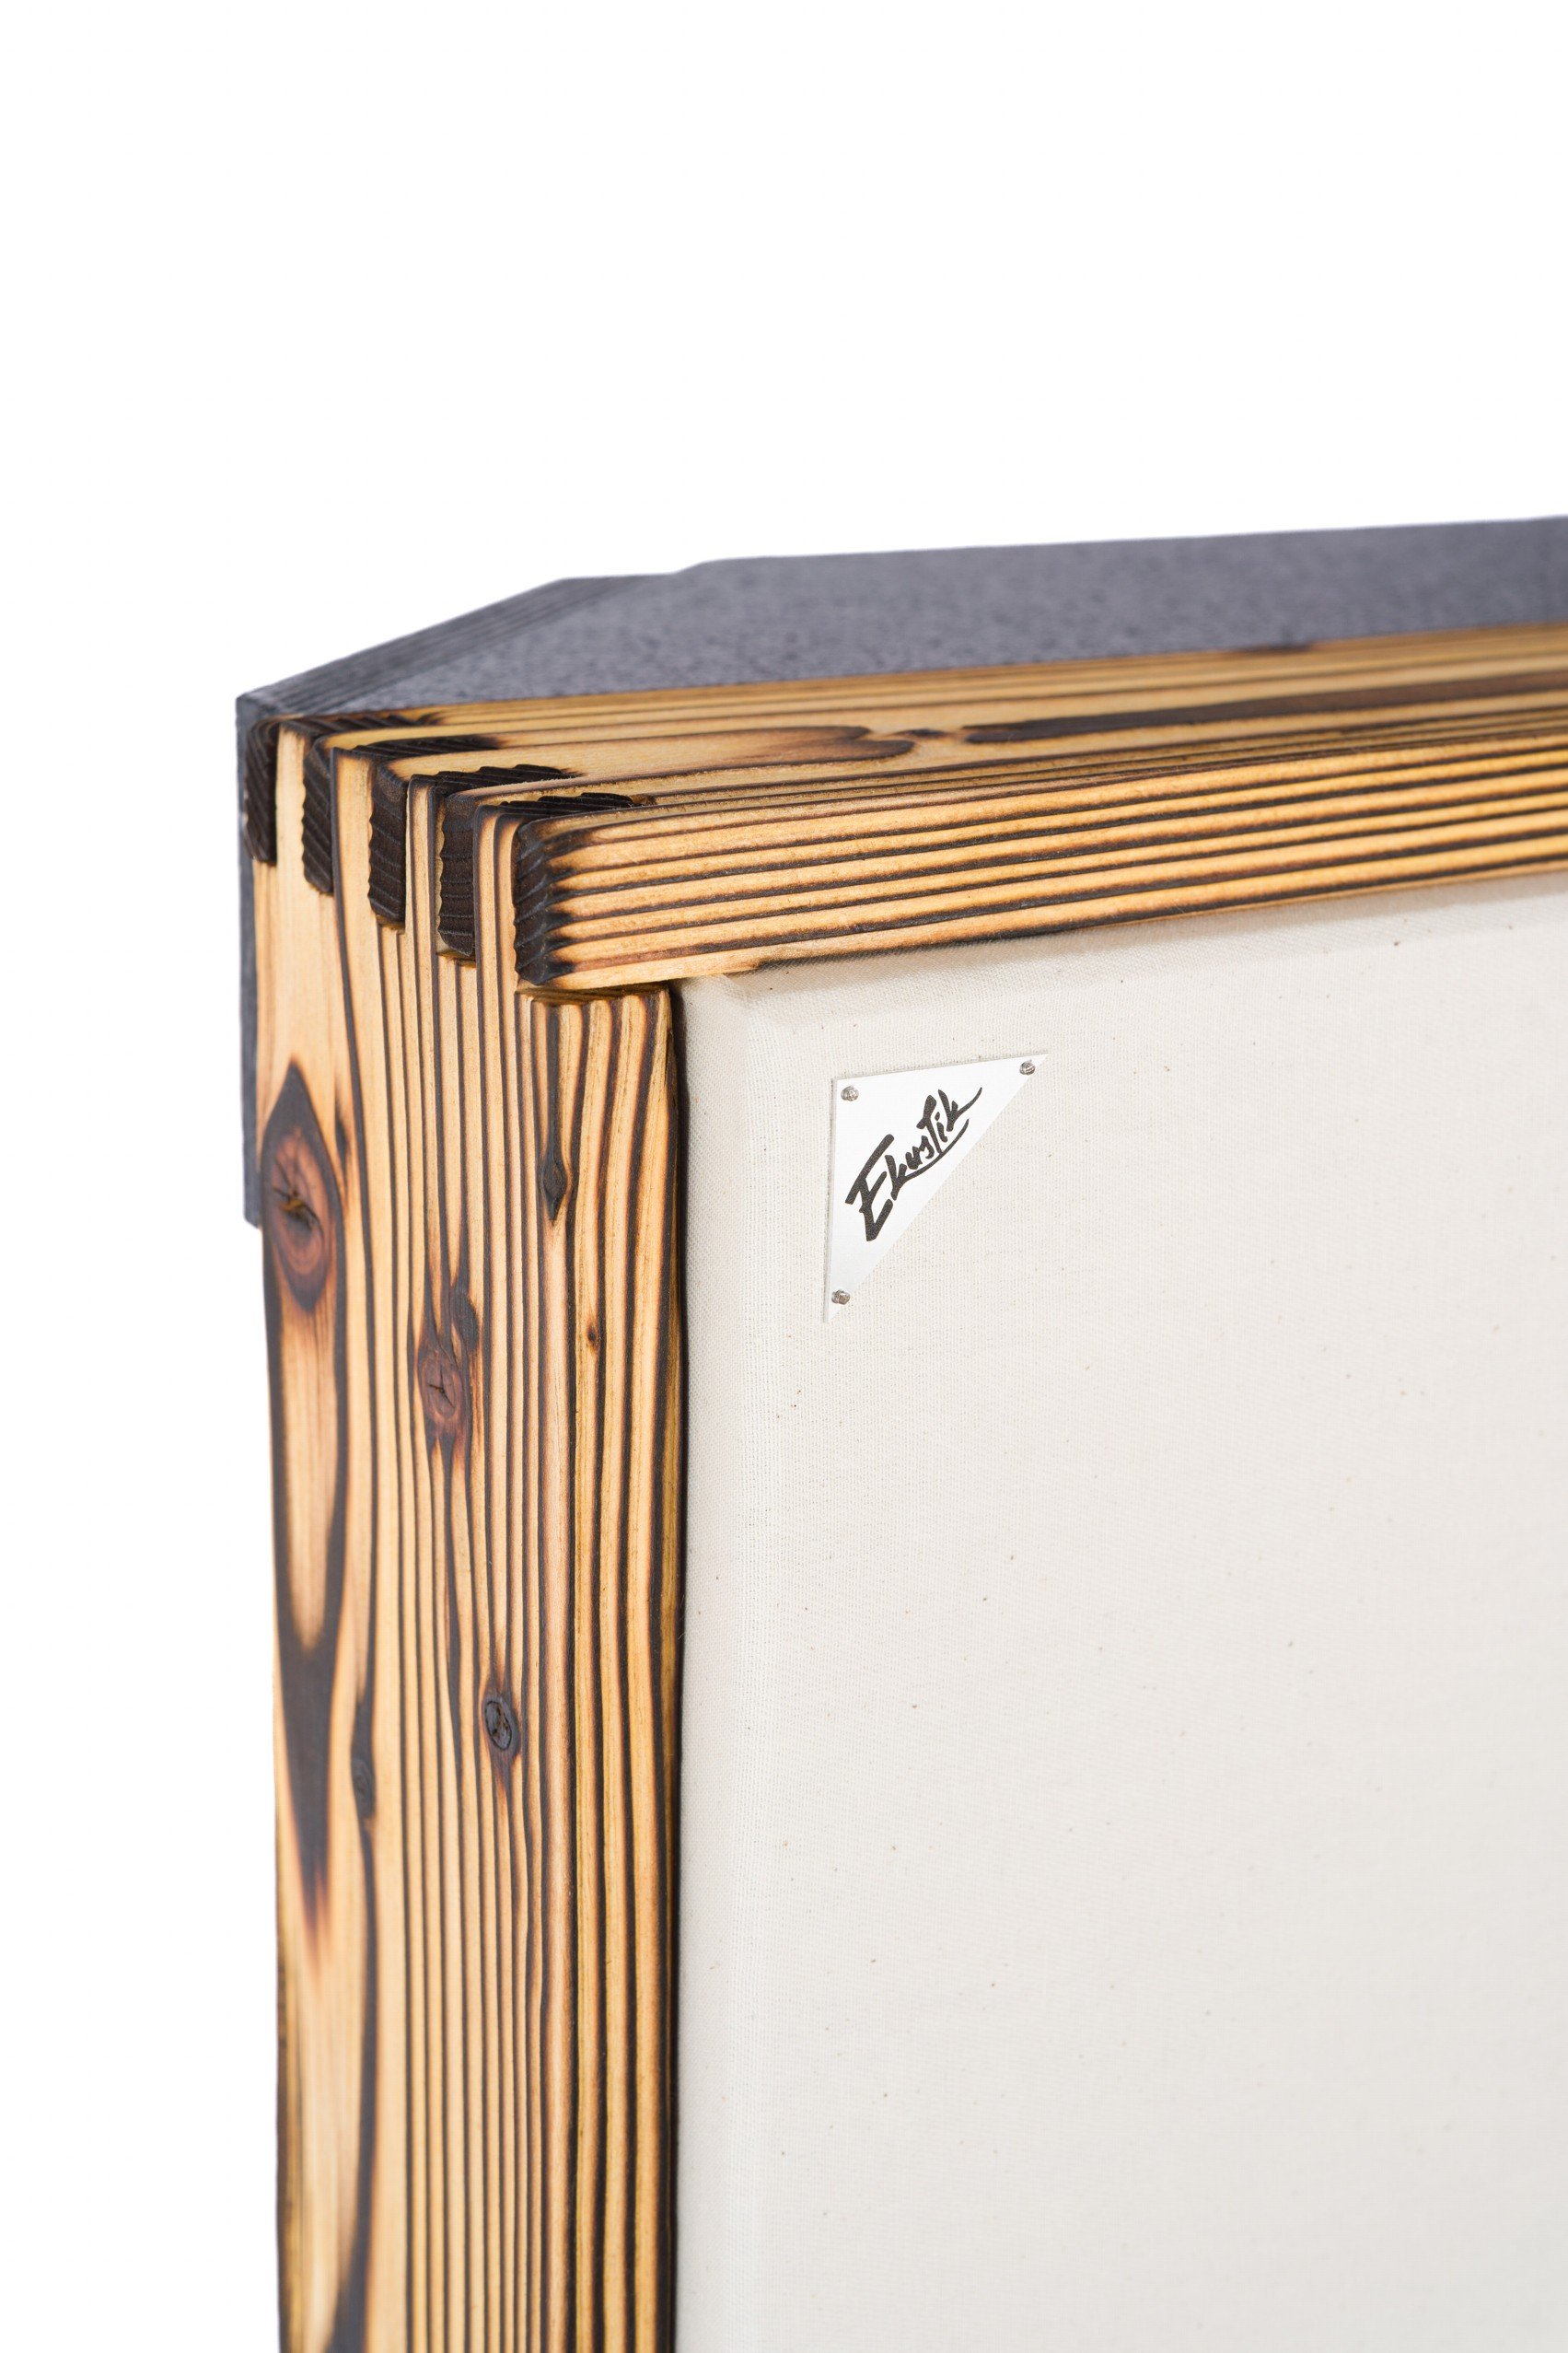
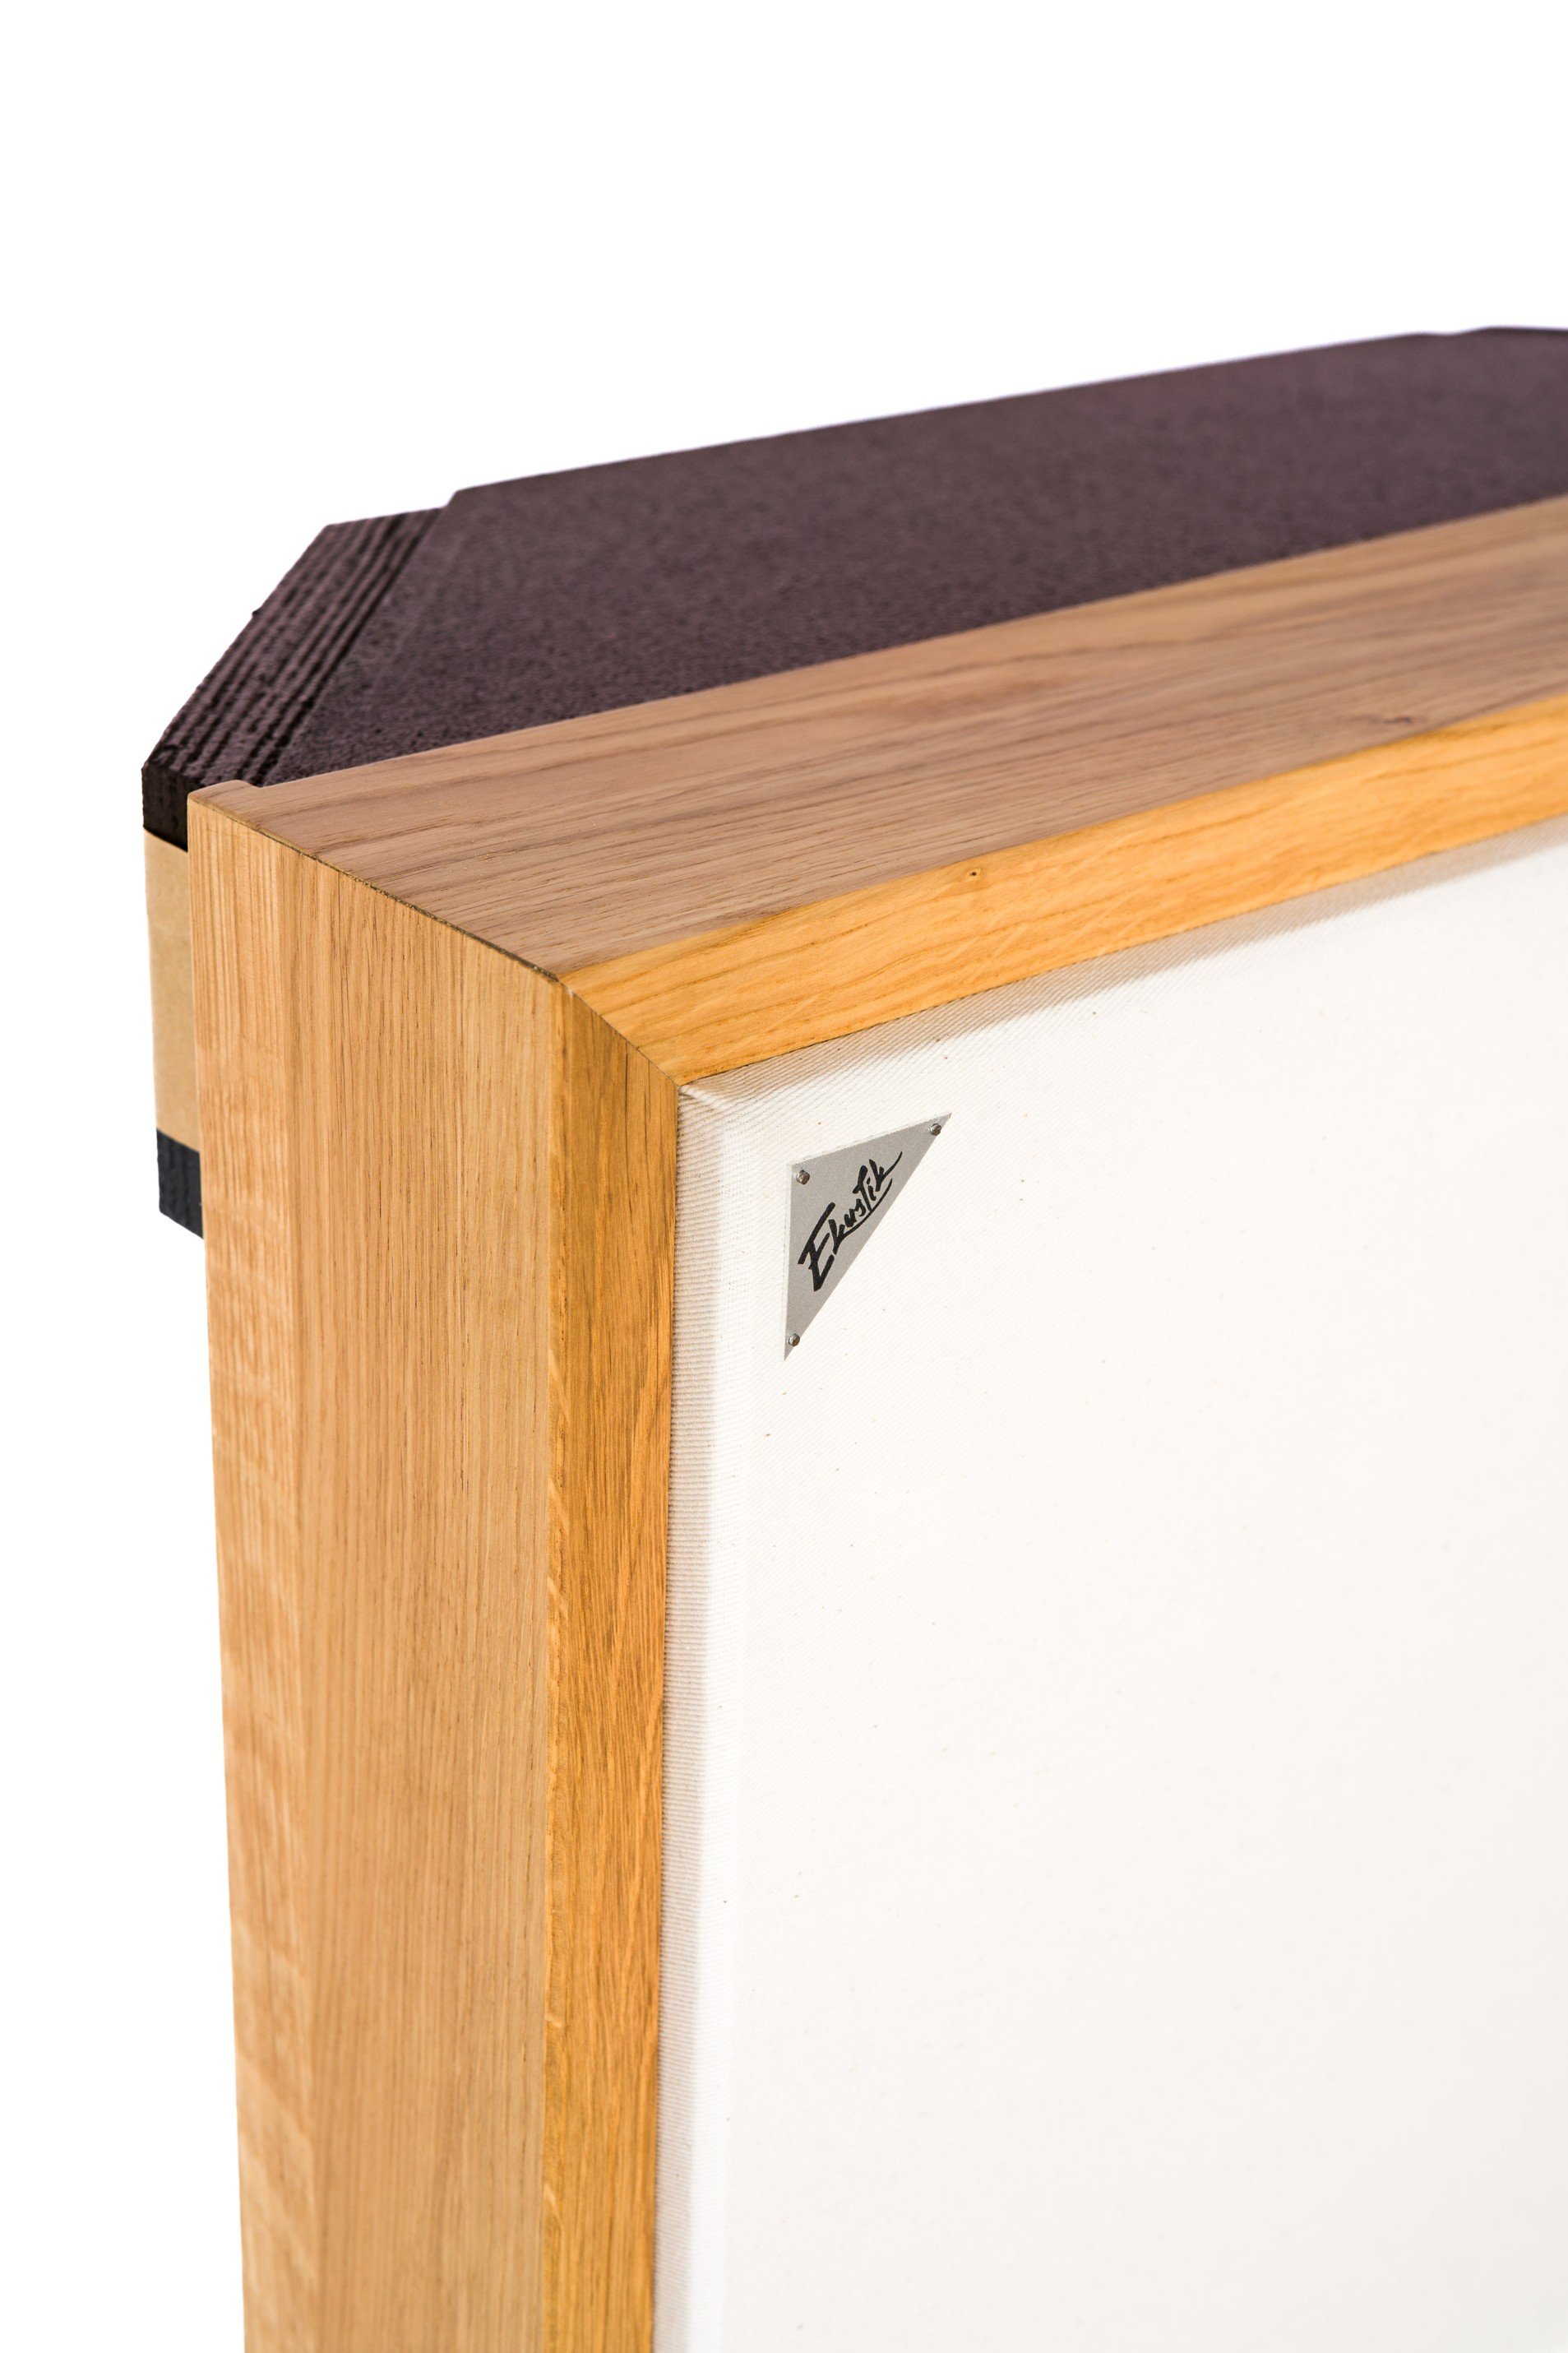
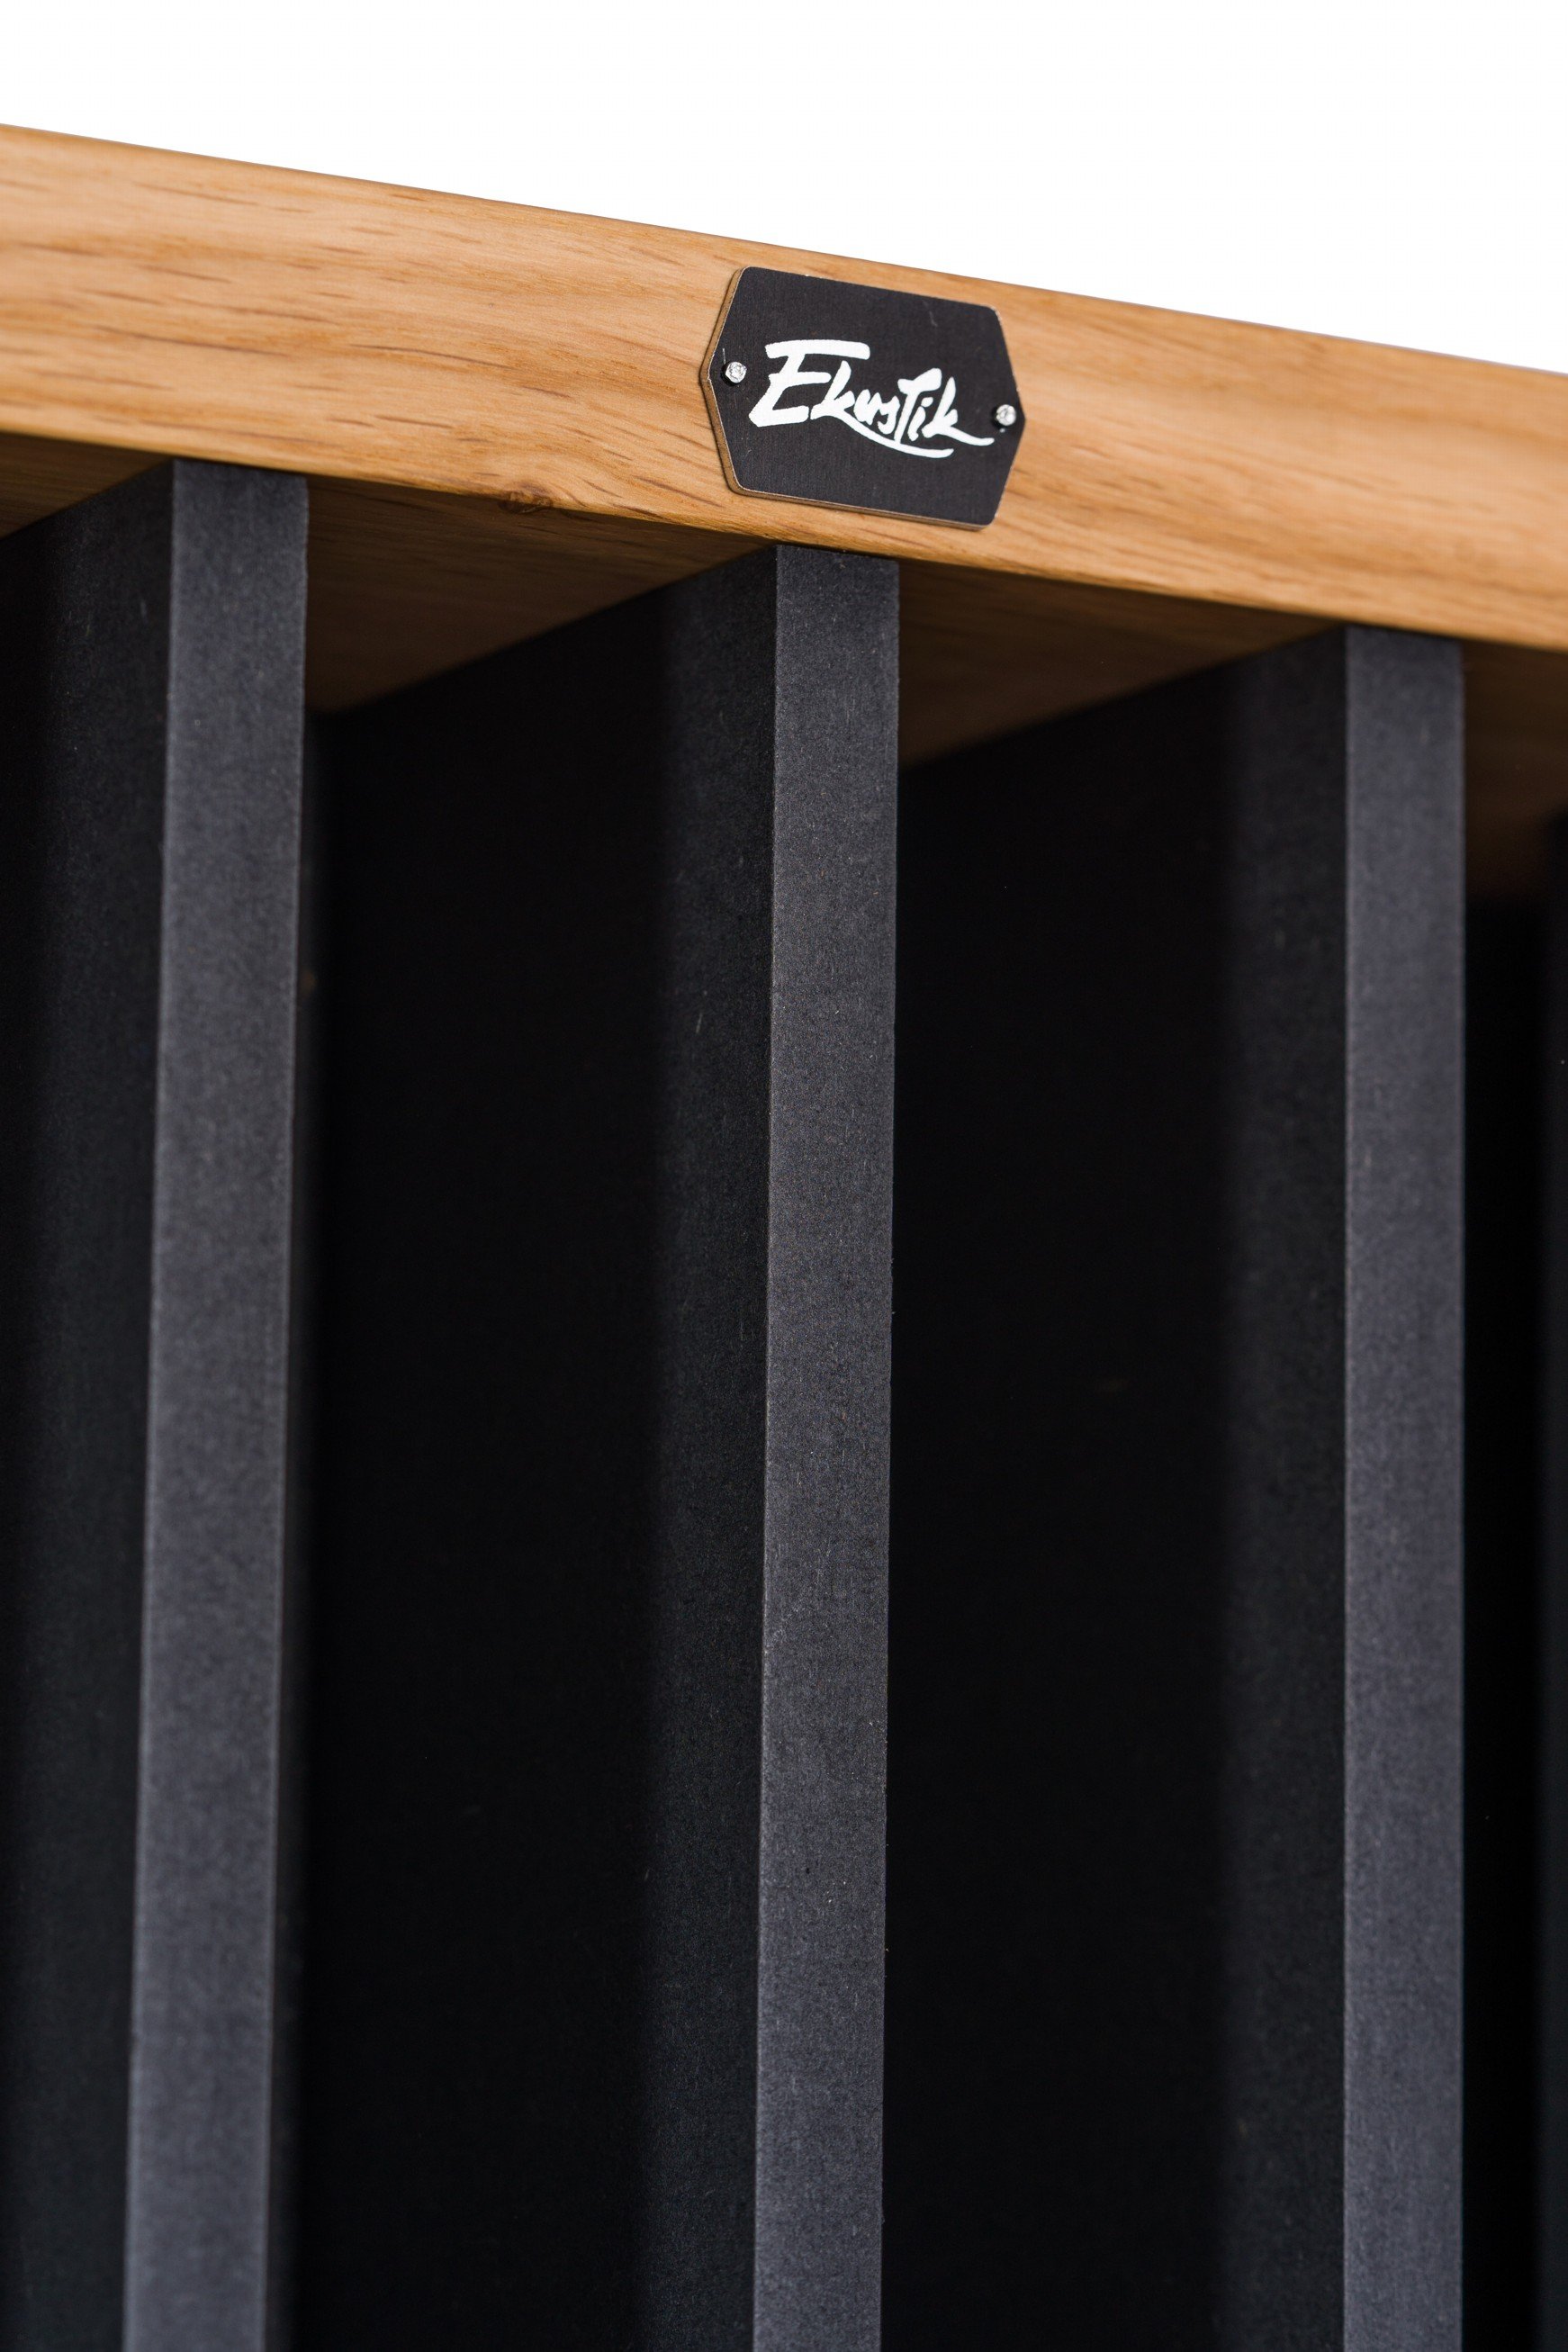
We have a solution for all your acoustic needs. All our products are made by hand and thanks to our patented design, every piece is original.
Only sustainable and safe materials are used (acoustic filler is from recycled PET, not from glass or rock wool)
Woody absorbers are designed to treat the whole frequency spectrum, from 40 Hz to 10 kHz+


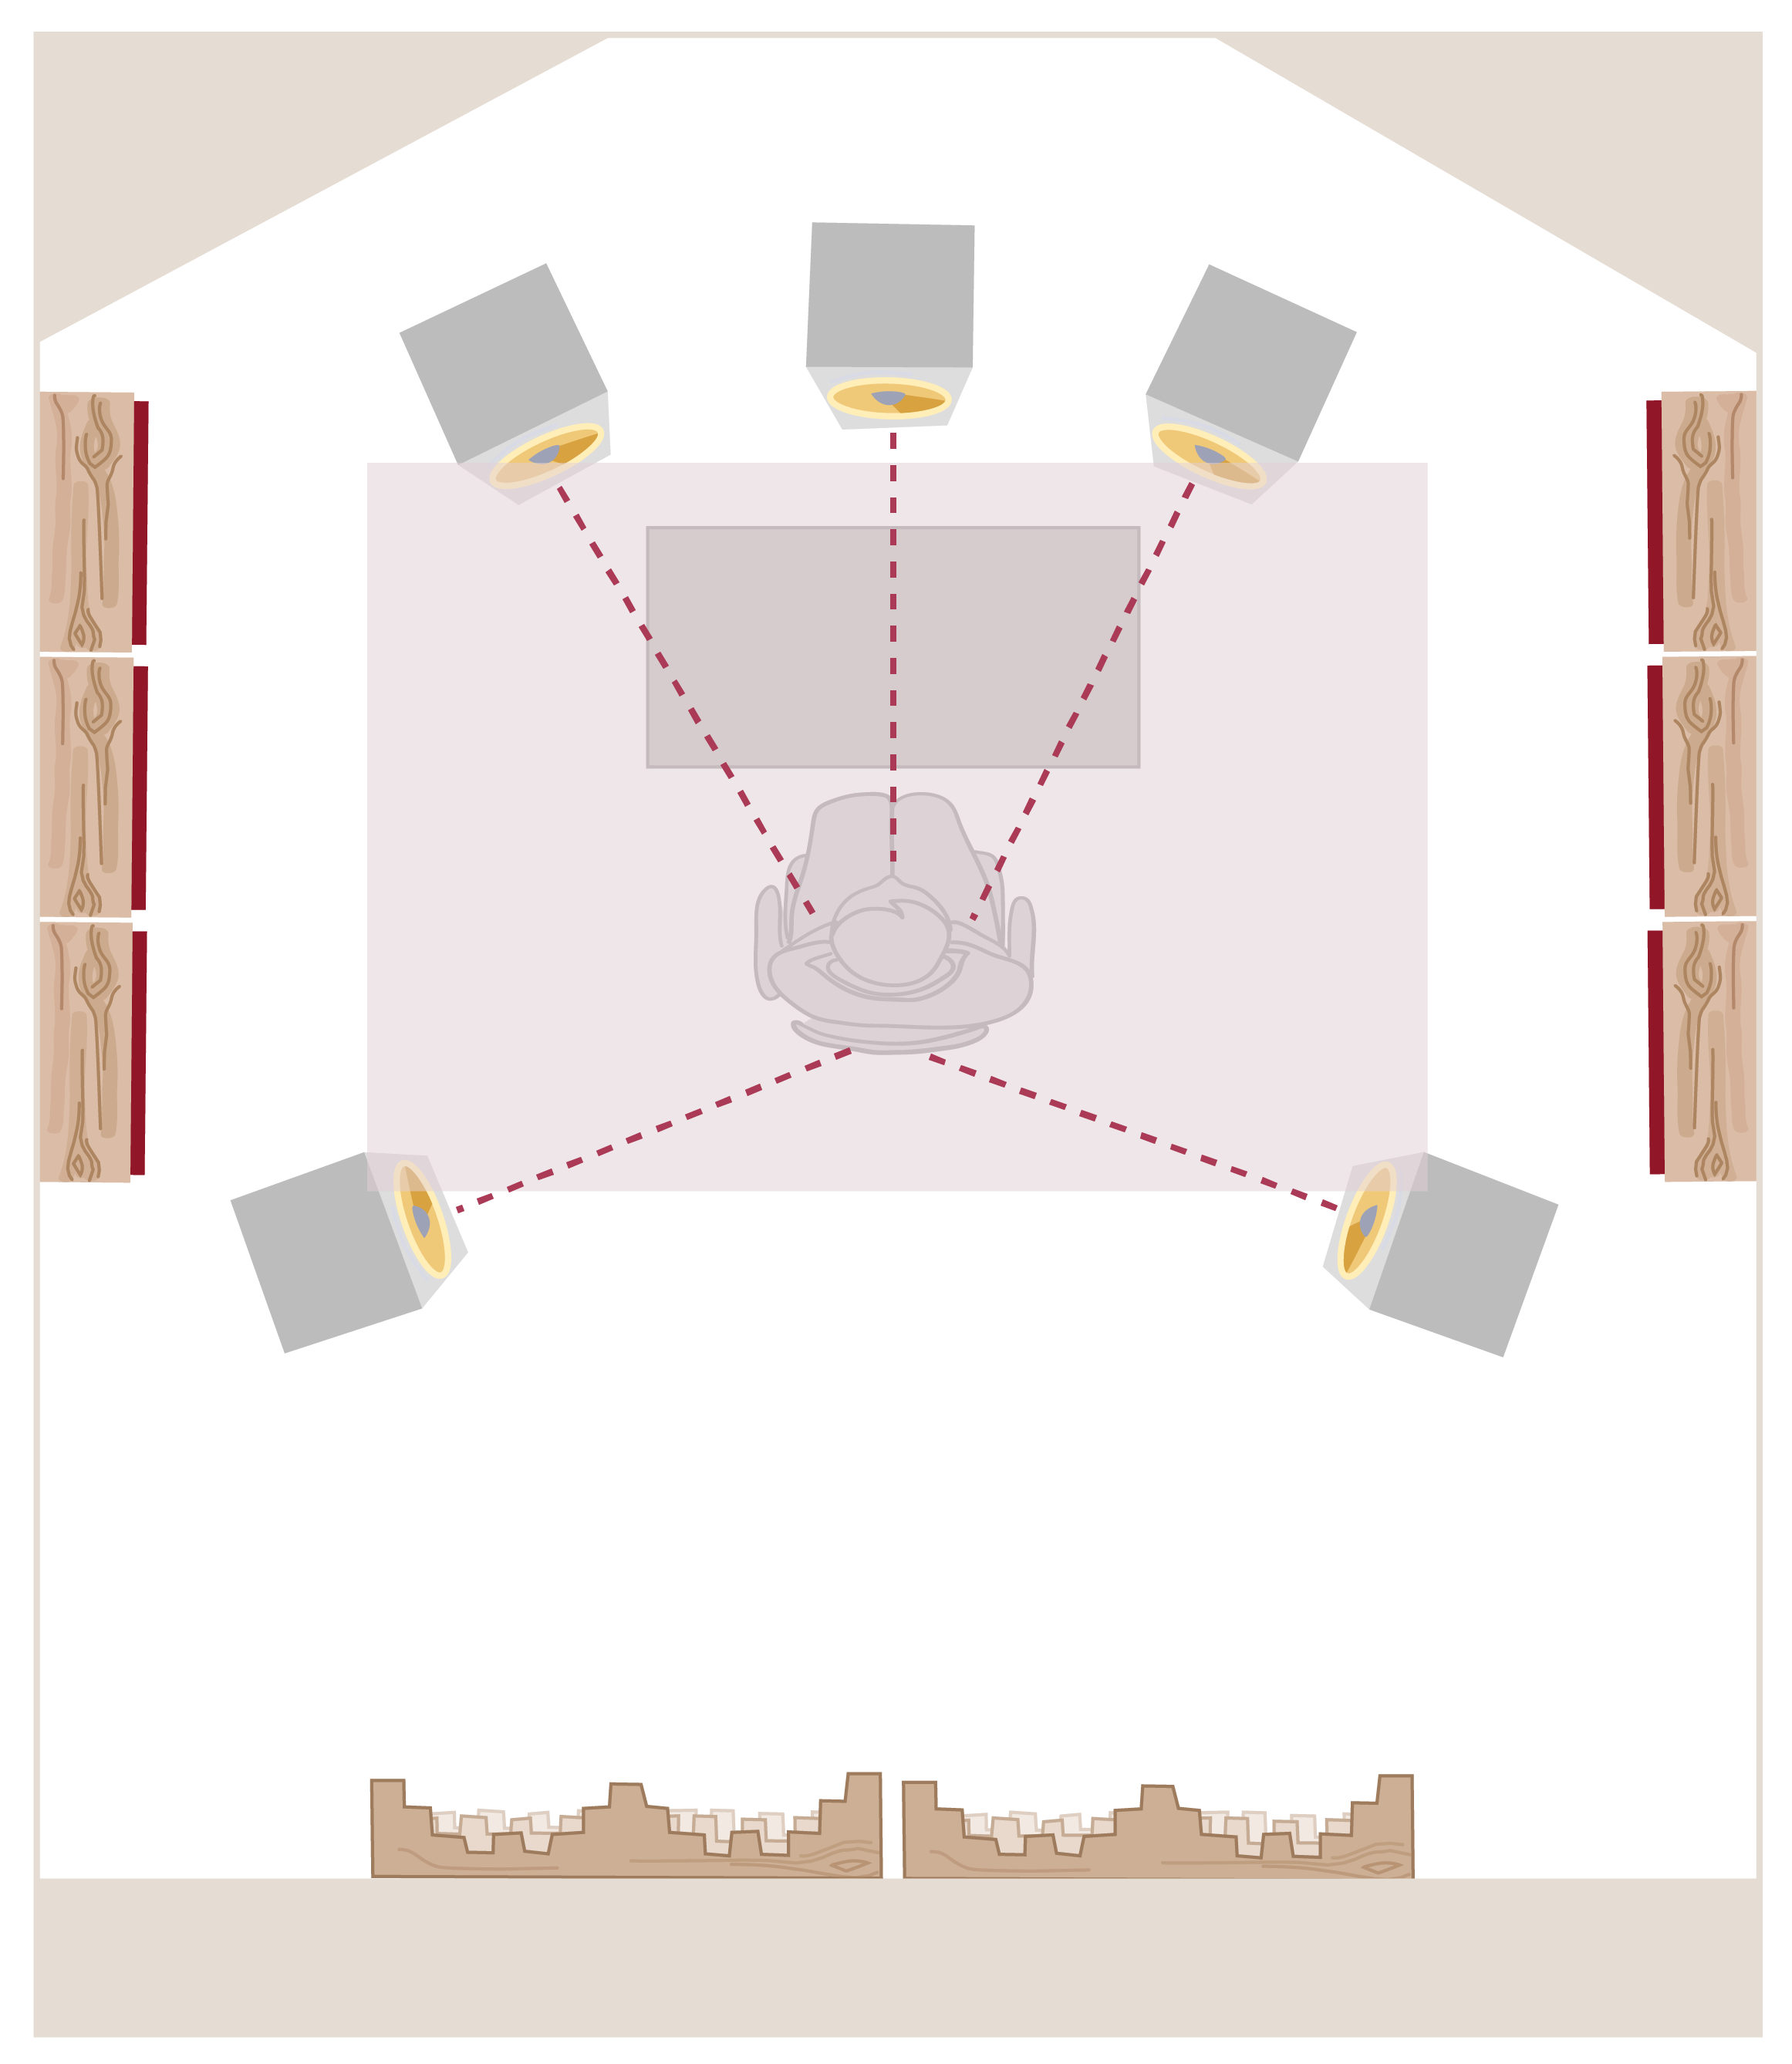
Example of room setting
In the following image, we can see an example of a typical arrangement of acoustic elements that we will talk about. This is the most commonly used acoustic solution for music studios, listening rooms, etc. To find out how we chose the listening position and placed the speakers, take a look at our home studio guide.
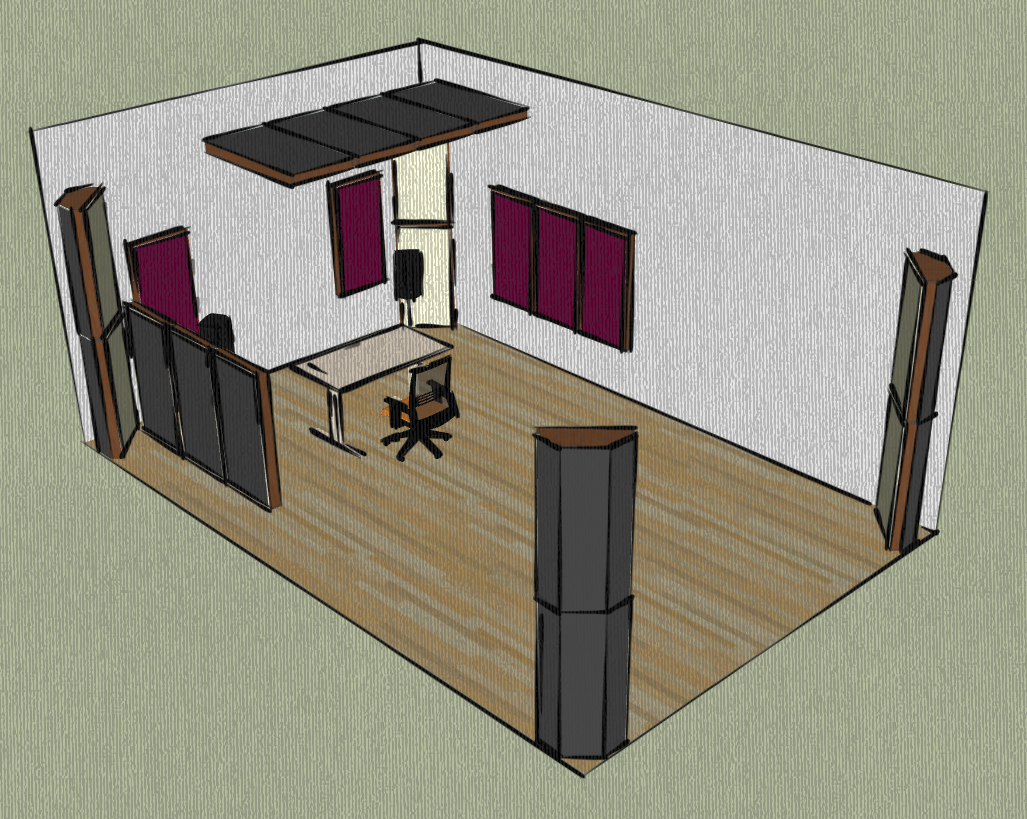
Basic acoustic treatment for a two-channel room with absorption and diffusion of sound waves (typical for a home recording studio). First, we start with the wall absorbers covering the first reflection points and low-frequency absorption in corners.
The acoustic solution of this room consists of basic elements - absorbers placed on the ceiling, sidewalls and corners. An acoustic absorber or diffuser (more expensive variant) is located also on the rear wall. This is a great starting setup, to which more demanding users add more acoustic panels, which prevent excessive reverberation time and control the liveliness of the room.
Absorb early sound reflections by placing absorbers at the first reflection points
The basis of the acoustic solution is always formed by absorbers placed on the first reflection points on the walls and ceiling. Note in the previous image that the acoustic absorbers are located on the walls between the speakers and the listening position, as well as on the ceiling.
Why? In these places, there are points where the sound waves are reflected first after they are produced in the speaker, so it is necessary to absorb them here if we want to achieve a good sound around the listening position.

Your strategy: Treat the first points of reflection between the speaker and the listening position with wall absorbers.
For example, if you have a limited budget or can only apply a few absorbers in your room, place them here. If the walls and ceiling were left without acoustic panels in these places, the early reflected sound waves would mix with the direct sound from the speaker and cause sound blur. The sound is then colored, details are masked, and it is unsuitable for recording as well as listening.
Ideally, you try to create a reflection-free zone (RFZ) around the listening area where you simply can't hear the initial reflections. When you are in the listening position, you will hear the direct sound from the speakers without coloration from the reflections from the surrounding surfaces.
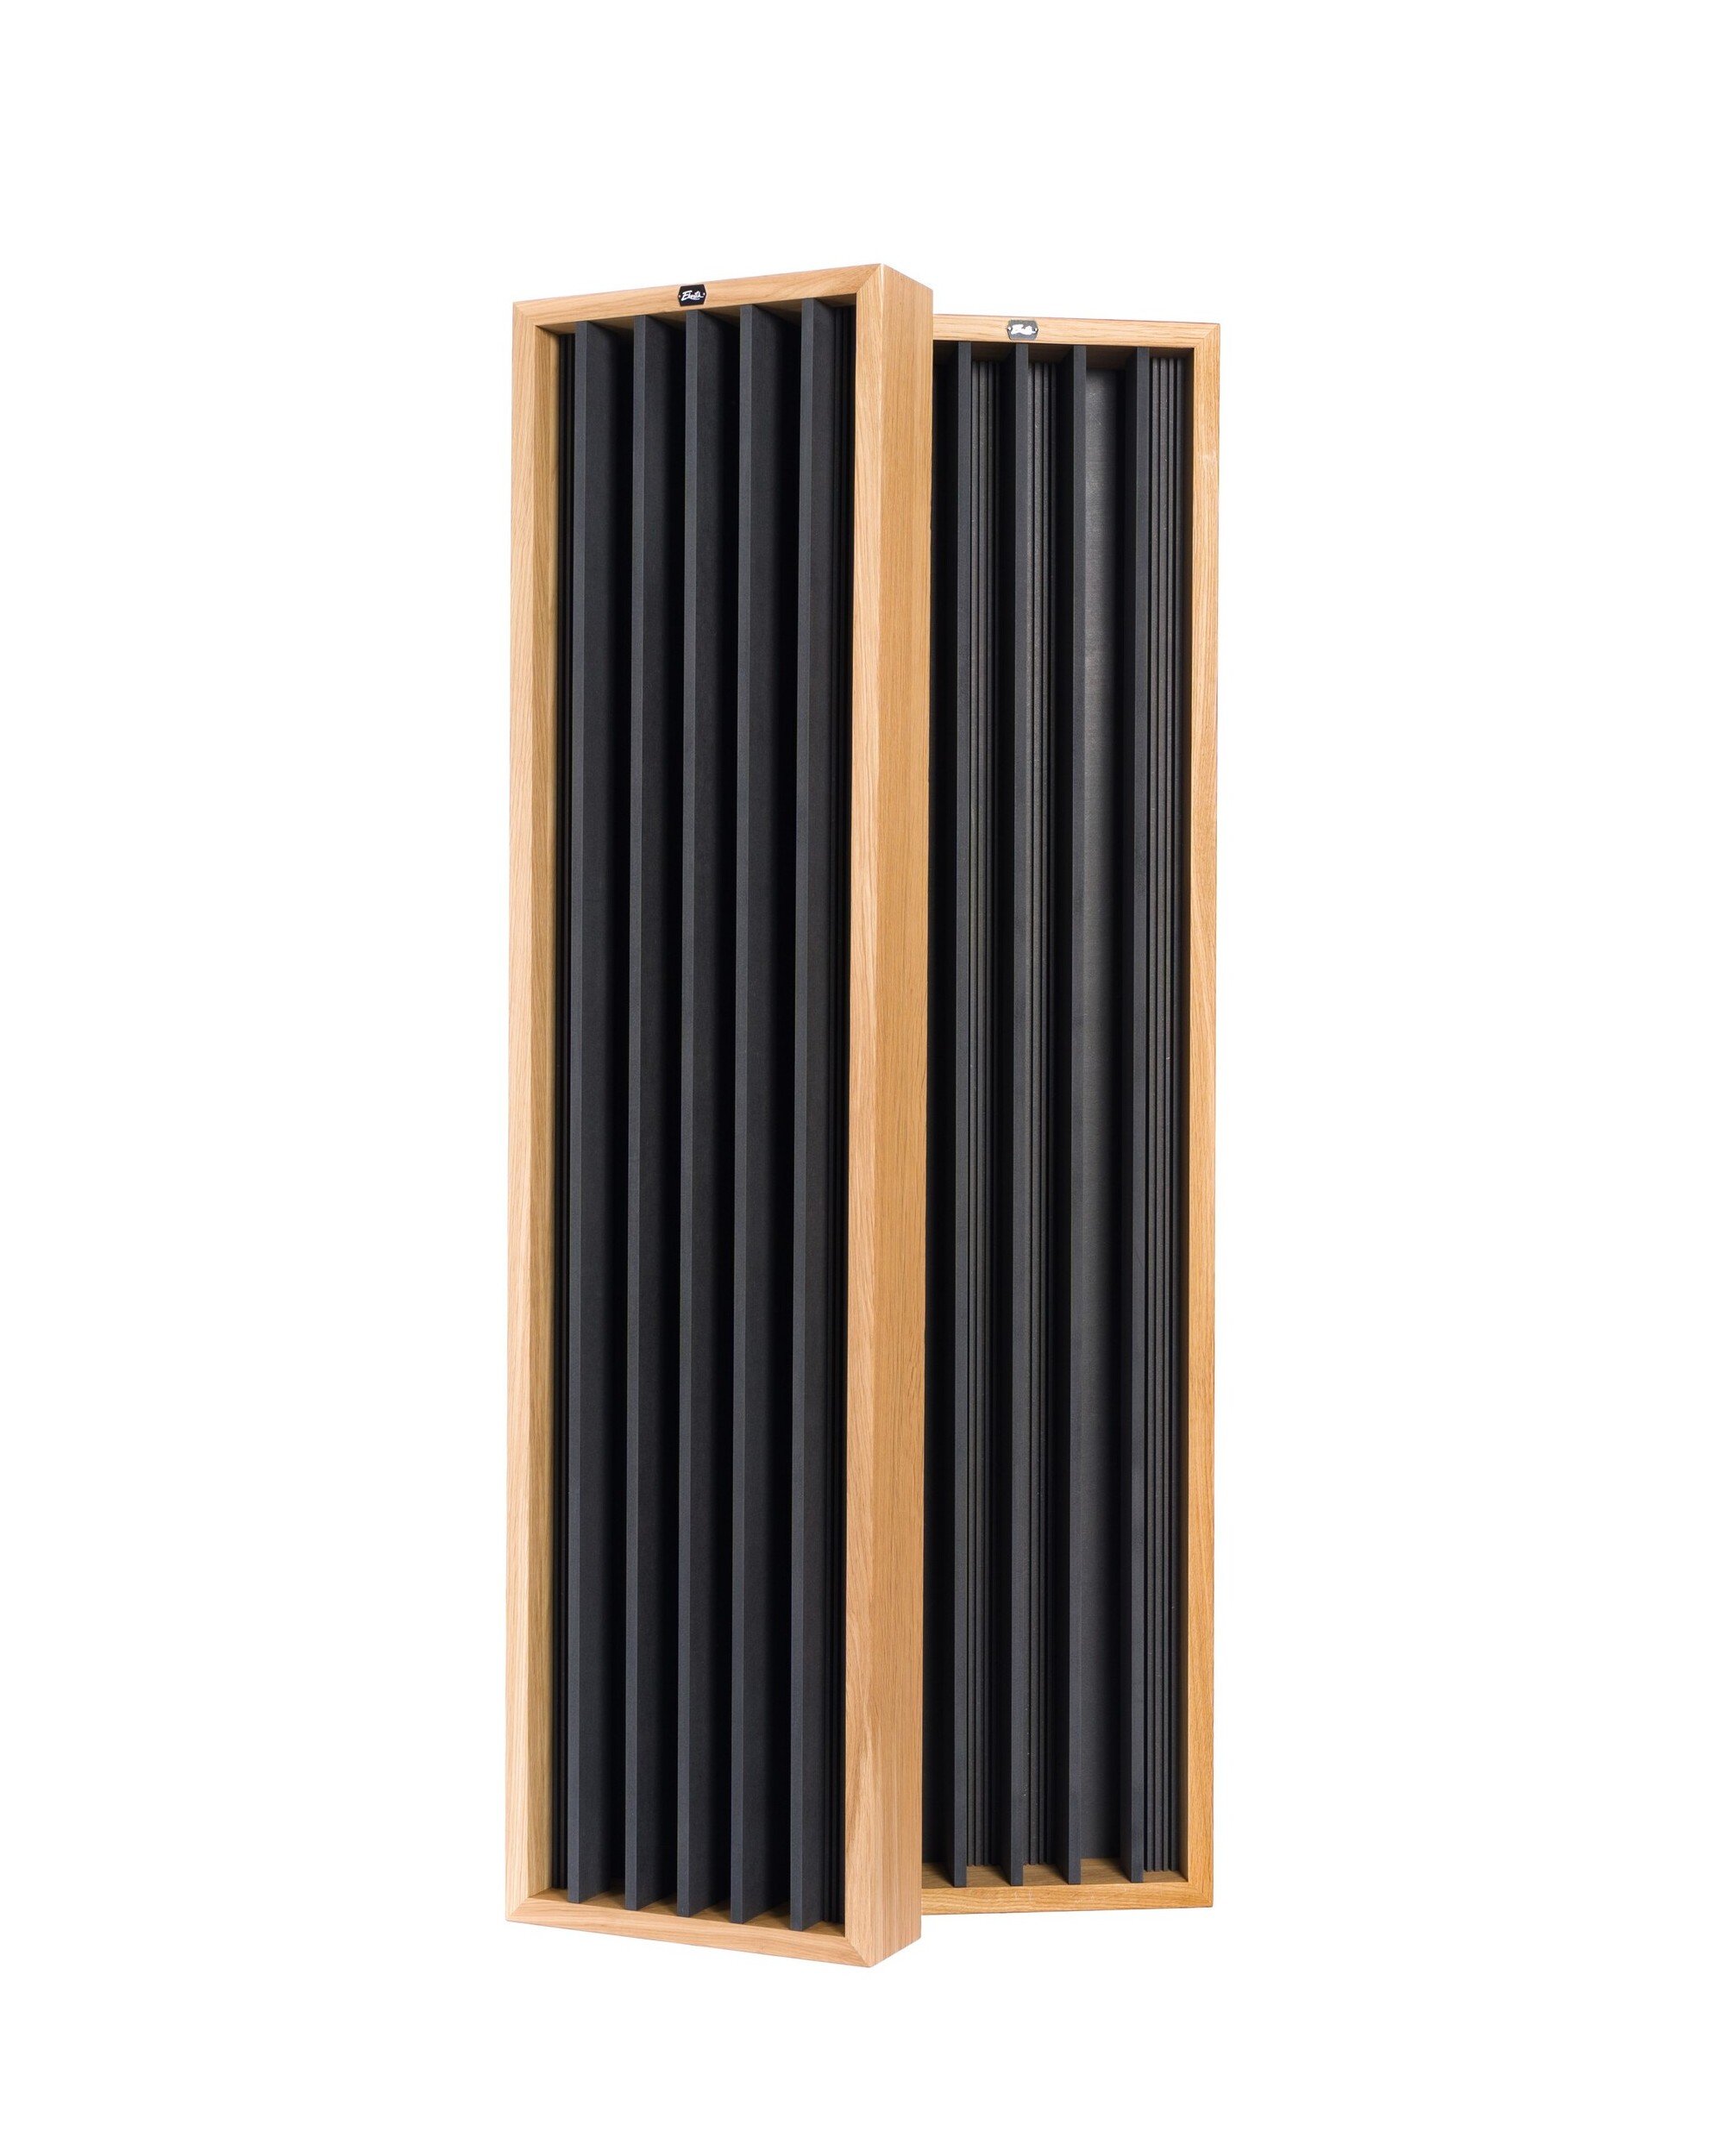
The easiest and cheapest way to treat the first reflection points is to use Ekustik Woody broadband absorbers. The deeper the panel, the stronger the absorbing layer that can absorb also lower frequencies, so if you equip a home theater, for example, an absorption layer of 5 cm will suffice. On the contrary, you will ideally choose 10 or 15 cm for the music studio.
Tip for hi-fi rooms and home theaters: Pro listeners in a room designed purely for listening do not require complete absorption at the first reflection points. A combination of absorption and diffusion is popular, which ensures greater liveliness of the sound. However, this variant is much more costly because acoustic diffusers are generally more expensive than absorbers.
Tip for demanding and professional users: Let your walls disappear. Acoustic absorbers located at the first reflection points are the absolute minimum, thanks to which you will be able to create a reflection-free zone around your listening position. However, in a perfect studio, the entire ceiling would be a giant broadband absorber that absorbs all reflections, so it sounds as if the ceiling does not exist at all. The same can be said about the back and sidewall. For this reason, it is advisable to place absorbers on the walls and ceiling as much as possible.
Bass absorbers and low-frequency absorption
In an ideal world, the acoustics of the space would disappear, so that only direct sound coming from the speakers could be heard. That's why we generally try to make the room sound neutral.
However, this task is not easy and we encounter the following problem: it is easy to remove high frequencies, but difficult to shorten the reverberation time at low frequencies. In the previous picture, the low-frequency absorbers are the ones located in the corners of the room.
If you place too many absorbers for the middle and high frequencies in the room (classic broadband wall panels), but not enough to treat the low frequencies, the resulting sound will sound strange: faint and sterile at high frequencies, slopy, and booming at low frequencies.
All small spaces without suitable acoustic treatment are haunted by bass chaos at low frequencies. The sources of this chaos are caused by the frequency regions of the room (room modes), the position of the speakers, and any other acoustic distortion caused by the attempt of bass waves to exist in small rooms. In an acoustically untreated room, this causes an uneven frequency response and long reverberation times at low frequencies.
You have two weapons to control the basses: the correct placement of the speakers and sufficient bass absorption. Take advantage of both and you will have a great low-frequency response in your studio. For a more detailed guide to bass absorbers, visit the following article, in which we discuss them in more detail.
Effect of diffused sound on room acoustics
Now that we know how to equip a room with acoustic absorbers, we can introduce another important participant in acoustic solutions for interiors - diffusers. These panels, unlike absorbers, scatter sound waves and help us to keep the sound energy in the room.
Acoustic diffusers reduce unwanted echoes and reflections by scattering sound waves in many directions. Unlike absorbers, sound diffusers keep your room liveliness because they do not absorb sound waves. Instead, diffusers scatter them in all directions and spread across the room (unlike the bare wall, which reflects waves only in one direction).

Basic scheme of how sound wave travels. From left to right: bare wall (linear reflection), absorption panel (absorption) and acoustic diffuser (diffusion).

With the right combination of these elements, the best sound-balanced room can be achieved. The disadvantage of diffusers is usually higher acquisition costs than absorbers.
The basic use of a diffuser is recommended on the back wall if it is located at least 2-3 m behind the listening position (see the brown panel on the back wall). The ideal is a combination of corner absorbers that absorb low-frequency sound waves and a diffuser in the middle of the wall that can scatter higher frequencies. This way you will achieve a great sound with a feeling of liveliness and spaciousness. If the listener is closer to the wall than 2 m (smaller room), it is recommended to place an absorber on the back wall as the diffuser would not have enough space to create an even diffuse field.
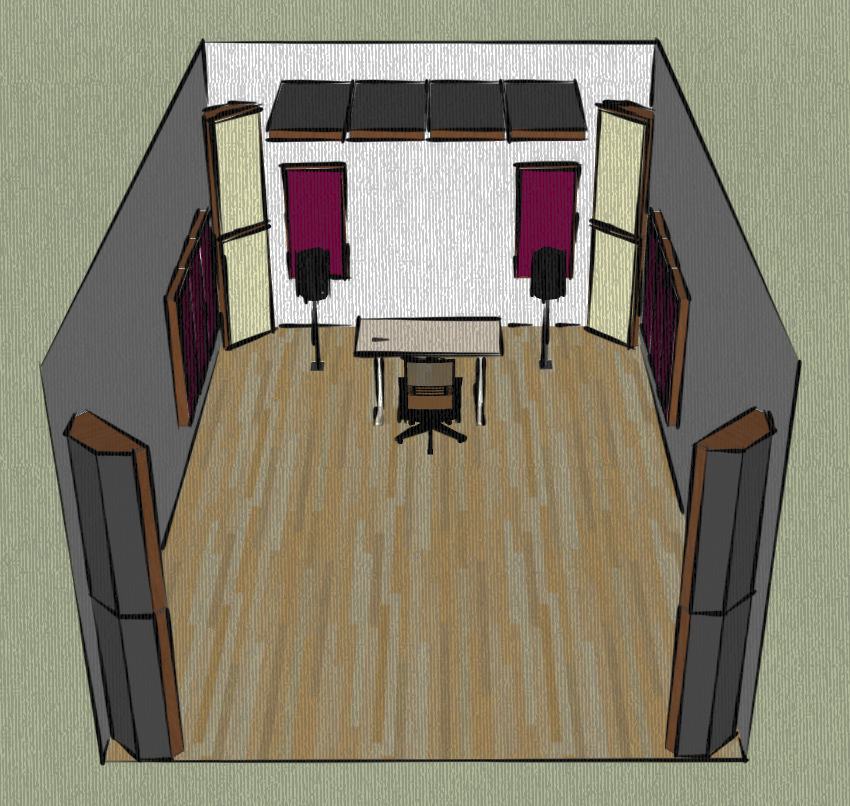
In the following diagram, you can see the recommended combination of absorbers and diffusers for a professional music studio. Massive absorbers in corners and to the entire rear wall are added to the basic absorbers at the first reflection points. The diffuser is located on the back wall directly behind the listening position.
Before placing the diffuser, it is good to think about what purpose the room will be intended for. On the back wall, diffusers are standard in almost every recording studio. In purely listening rooms, on the other hand, we often encounter another diffuser located on the front wall, which then creates the illusion of "extruding the walls" and makes the room sound much spacier (the sound is not absorbed on the front wall, but scattered).
If you do not focus on clear and perfectly accurate sound (recording rooms), for example in home theater conditions, you can equip your room with more diffusers for the greater liveliness of sound. This is often required even in hi-fi listening rooms. In this case, start by covering the first reflecting points with absorbers and then apply the diffusers to 20 to 30% of the surface area of the walls and ceiling.
The ideal acoustic solution for a music studio. The acoustic diffuser is located behind the listening position to disperse the mid and high frequencies, while the massive bass absorbers in the corners and on the back wall absorb low frequencies.
Finding the balance: absorption, diffusion, and reverberation time

Finding the right balance of sound absorption and diffusion in your space is a science with the addition of magic. In the following points, we will describe the main rules of thumb to keep in mind if you want to acoustically treat the room on your own:
Please note that in domestic conditions, at least 25% of the wall area is covered with acoustic panels (room area up to 30 m2).
A standard professional studio is covered with acoustic panels on at least 50% of the wall area.
The smaller the room, the higher percentage of walls that need to be covered by acoustic panels.
Start with the absorbers at the first reflection points and the bass absorbers at the corners of the room.
If possible, apply the panels to the ceiling and all walls of your room.
To prevent flutter echoes, avoid large areas of bare wall or ceiling (do not leave two opposite walls completely bare).
If the room is smaller or a cube, an absorber is more suitable than a diffuser on the back wall.
If possible, focus on the symmetry of the left and right sidewalls.
You can place a small rug under the listening position, where it absorbs the first reflections from the floor. Carpet for the entire floor is not recommended because it absorbs high frequencies more than medium and low frequencies.
The combination of strategic speaker placement and acoustic panels will enhance your listening experience.
Intelligent listening position selection, correct speaker placement, and sufficient bass absorption will give you balanced low frequencies.
It is ideal to perform acoustic measurements after equipping the room so that you can measure the reverberation time and adjust the absorption/diffusion coverage as needed.
Reverberation time
The reverberation time is the time required for the sound pressure level to drop by 60 dB, measured in seconds. We use it to measure the so-called liveliness of the space and the abbreviation stands as RT60. You can easily measure the reverberation time using various microphones, sound level meters, software, etc. (just download one of the many applications to your phone).
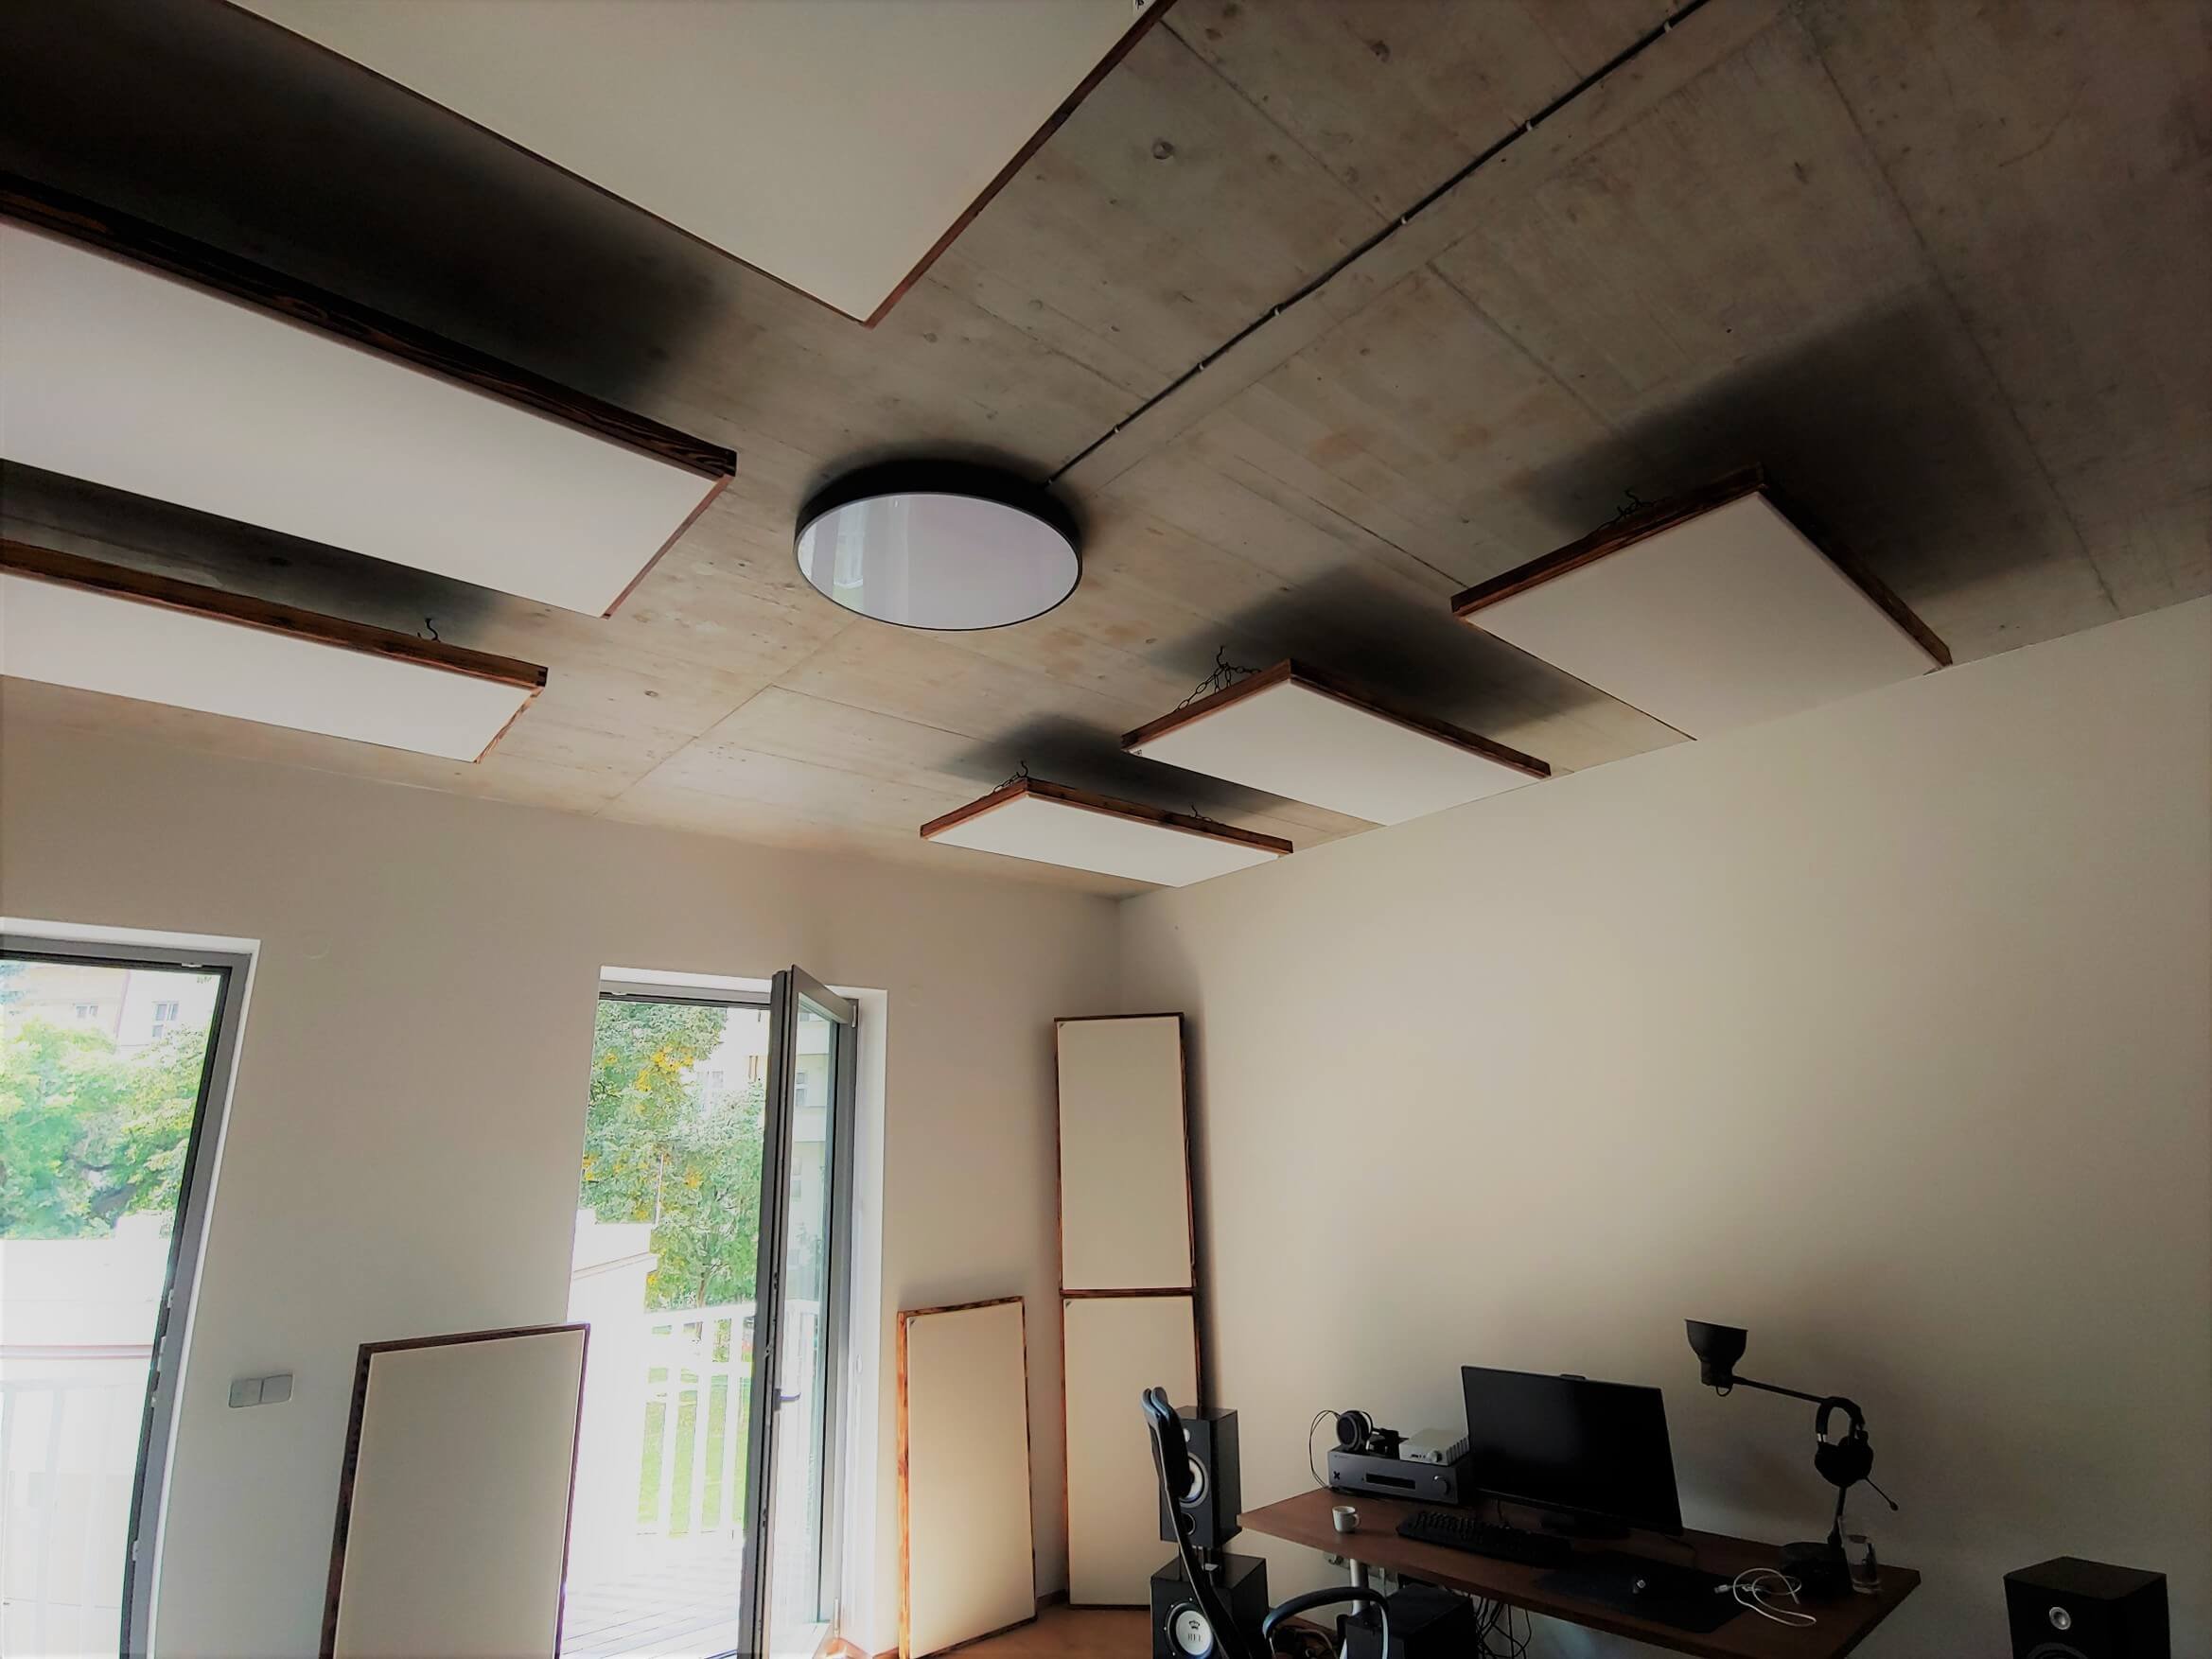
Example of acoustic treatment in a home studio
What should be the liveliness of the sound?
The recommended reverberation time varies based on functional use, so in the case of a music studio in a smaller room (up to approx. 30 m2) it is recommended to keep the RT60 reverberation time between 0.2–0.8 seconds (between 250 Hz and 4 kHz).
The smaller the room, the lower the value we try to achieve. A longer reverberation time means that space will be more lively and therefore less suitable for music recording. For example, we try to achieve more liveliness in music rehearsal rooms or home theaters, where a slightly longer reverberation time is desirable (RT60 0.4-1.0 seconds).
The best music studios in the world are acoustically treated to keep the RT60 reverberation time below 0.3 seconds.
What sound should you expect with an acoustic treatment?
The acoustic treatment of the room will ensure a perfect connection with the music. Even in a home basement studio, if you achieve a good quality sound, you will be on the same wave with the music much like in the professional facilities. Experience a new level of depth and clarity in your recordings, so you can hear sharp detail and full dynamic range in high-quality sound. If you are a hi-fi audiophile, you will finally hear the real sound of your speakers. You will be able to close your eyes and transfer yourself to the room where the song was recorded. In short, if you treat your room according to the rules listed here, your ears will thank you every day for the quality sound you give them.
Putting it all together
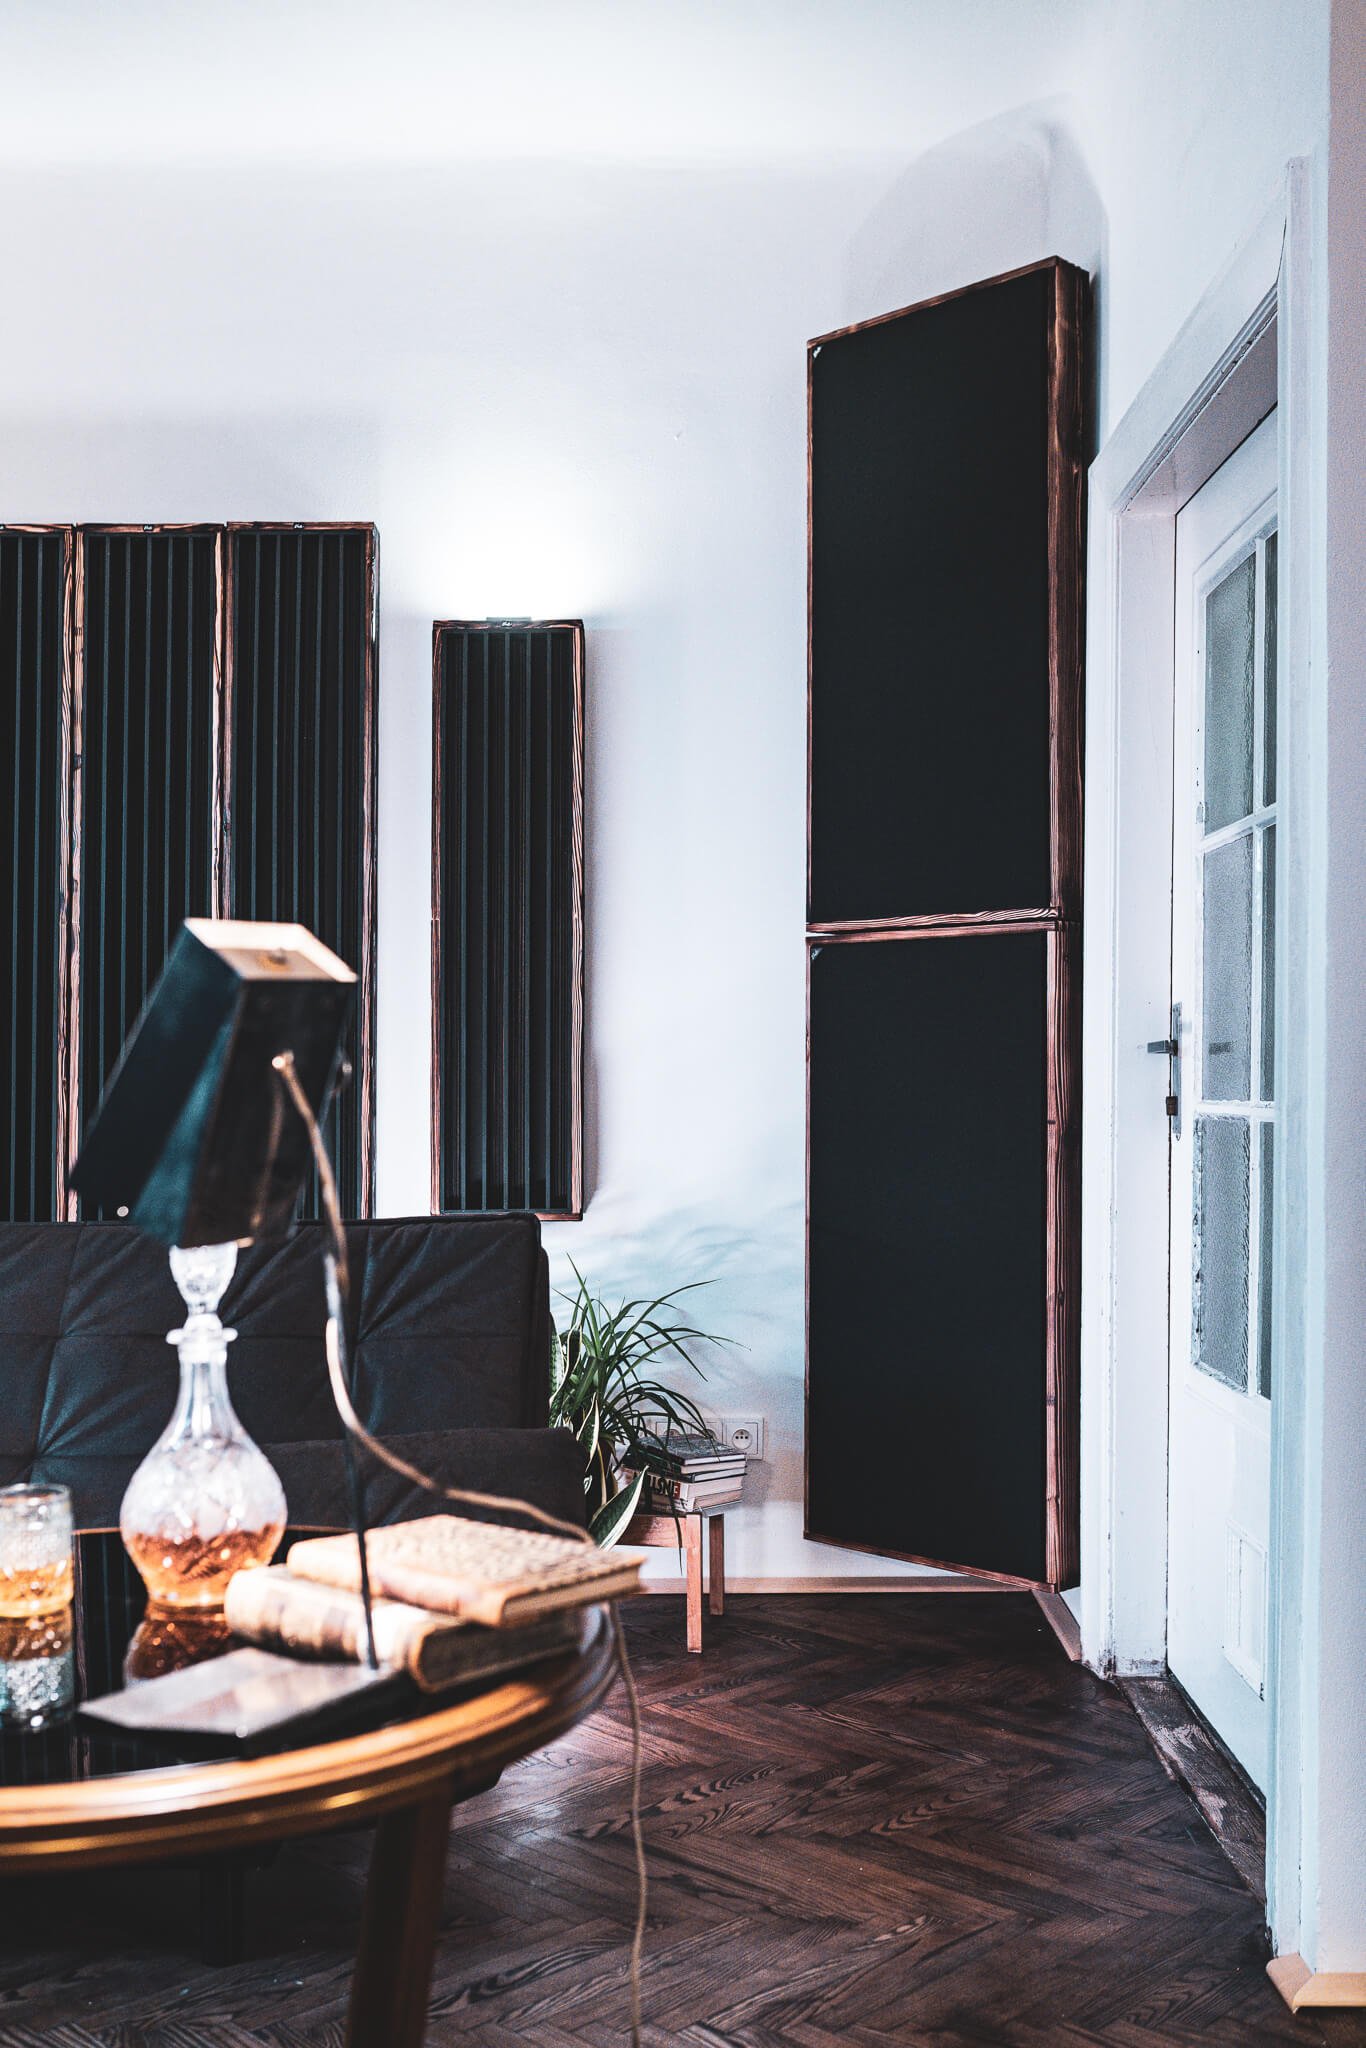
In the following pictures, you can see some examples of how absorbers, bass absorbers, and diffusers form the acoustic solution of a music studio and listening room. All the principles described in our studio guide are applied here. Broadband absorbers at the first reflection points, low-frequency absorbers at the main corners, and a diffuser at the rear wall. If you could equip your home studio to a similar level, you would be an absolute winner.
The diffuser is a relatively expensive affair, so it can be replaced by an acoustic absorber. It's not an ideal solution, but it's still better than leaving the whole wall bare.
All other variations for acoustic treatment are based on this acoustic solution. Absorbers and diffusers cover more than 50% of the wall area in professional studios.
A basic acoustic solution of a music studio. Broadband absorbers at the first reflection points and low-frequency absorbers are used.

Full acoustic solution of a music studio. Broadband absorbers, low-frequency absorbers, and diffusors are used.
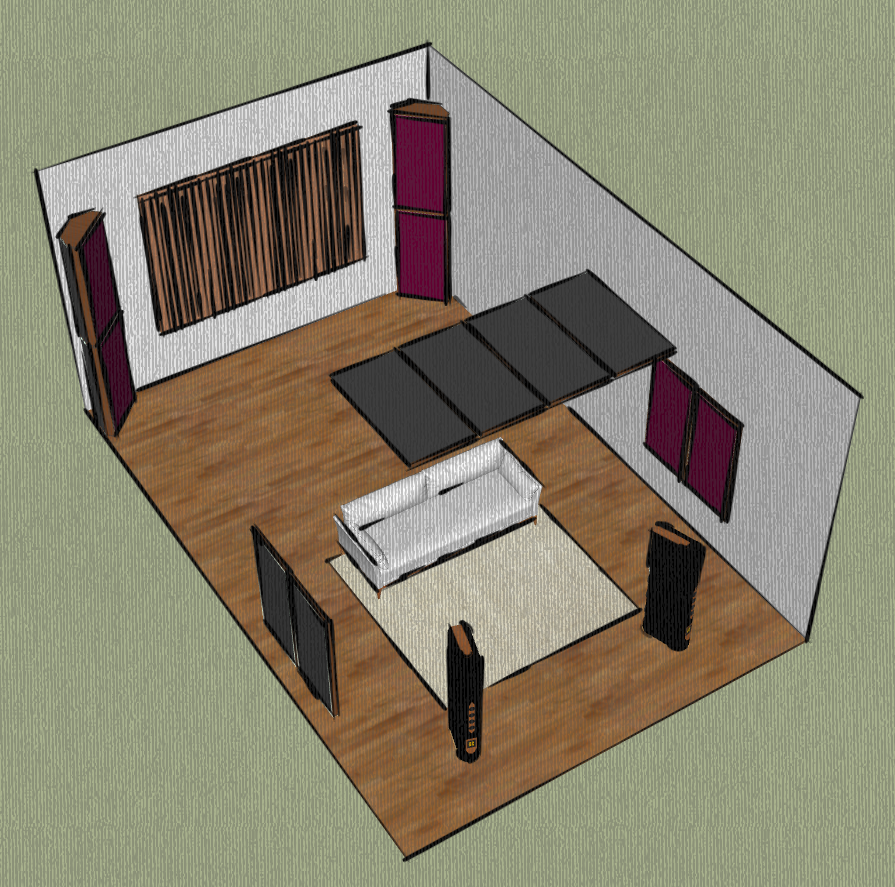
A good acoustic solution for a home listening room. Acoustic absorbers are located at the first reflection points, low-frequency absorption is placed in the back corners and diffusor covers almost the entire rear wall.